
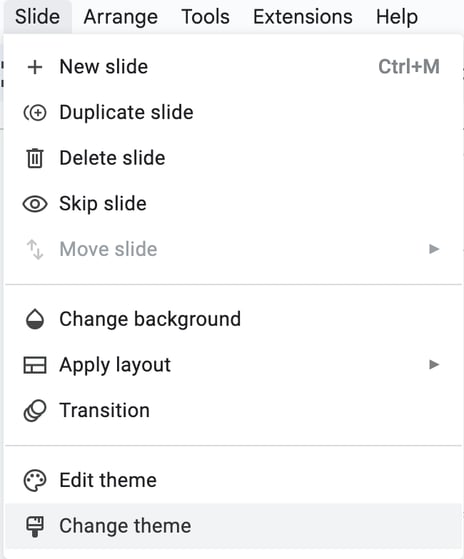
Master Slide
Why Use Master Slide?
-
Master Slide is a template slide that you can apply to any number of slides in your presentation
-
It allows for consistency in design and layout across your presentation
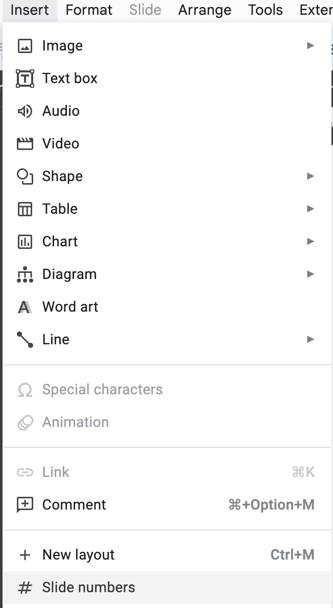
Inserting and Editing Objects
-
Images: You can add pictures or graphics to your Master Slide
- Find 'Insert' on the menu bar, then click on 'Image'
- You can then choose a file from your computer or online
-
Text: You can add text boxes to your Master Slide
- Go to 'Insert', then 'Text Box'
- Draw your text box on the slide and start typing
-
Shapes: Add shapes to your Master Slide for design or emphasis
- Go to 'Insert', then 'Shapes'
- Choose your shape, draw it on your slide, and adjust it as needed
-
Logos: You can insert a logo on the Master Slide for branding
- Follow the same steps as inserting an image
-
Slide Headers and Footers: You can include information like slide title or date on your slides
- Go to 'Insert', then 'Header & Footer
- Choose what you want to include and click 'Apply to All
-
Placeholder Position: You can choose where your placeholders are on your Master Slide
- Click and drag your placeholders to where you want them on the slide

-
Automated Slide Numbering: Automate the numbering of your slides
- Go to 'Insert', then 'Slide Number'
- Click 'Apply to All' to add slide numbers

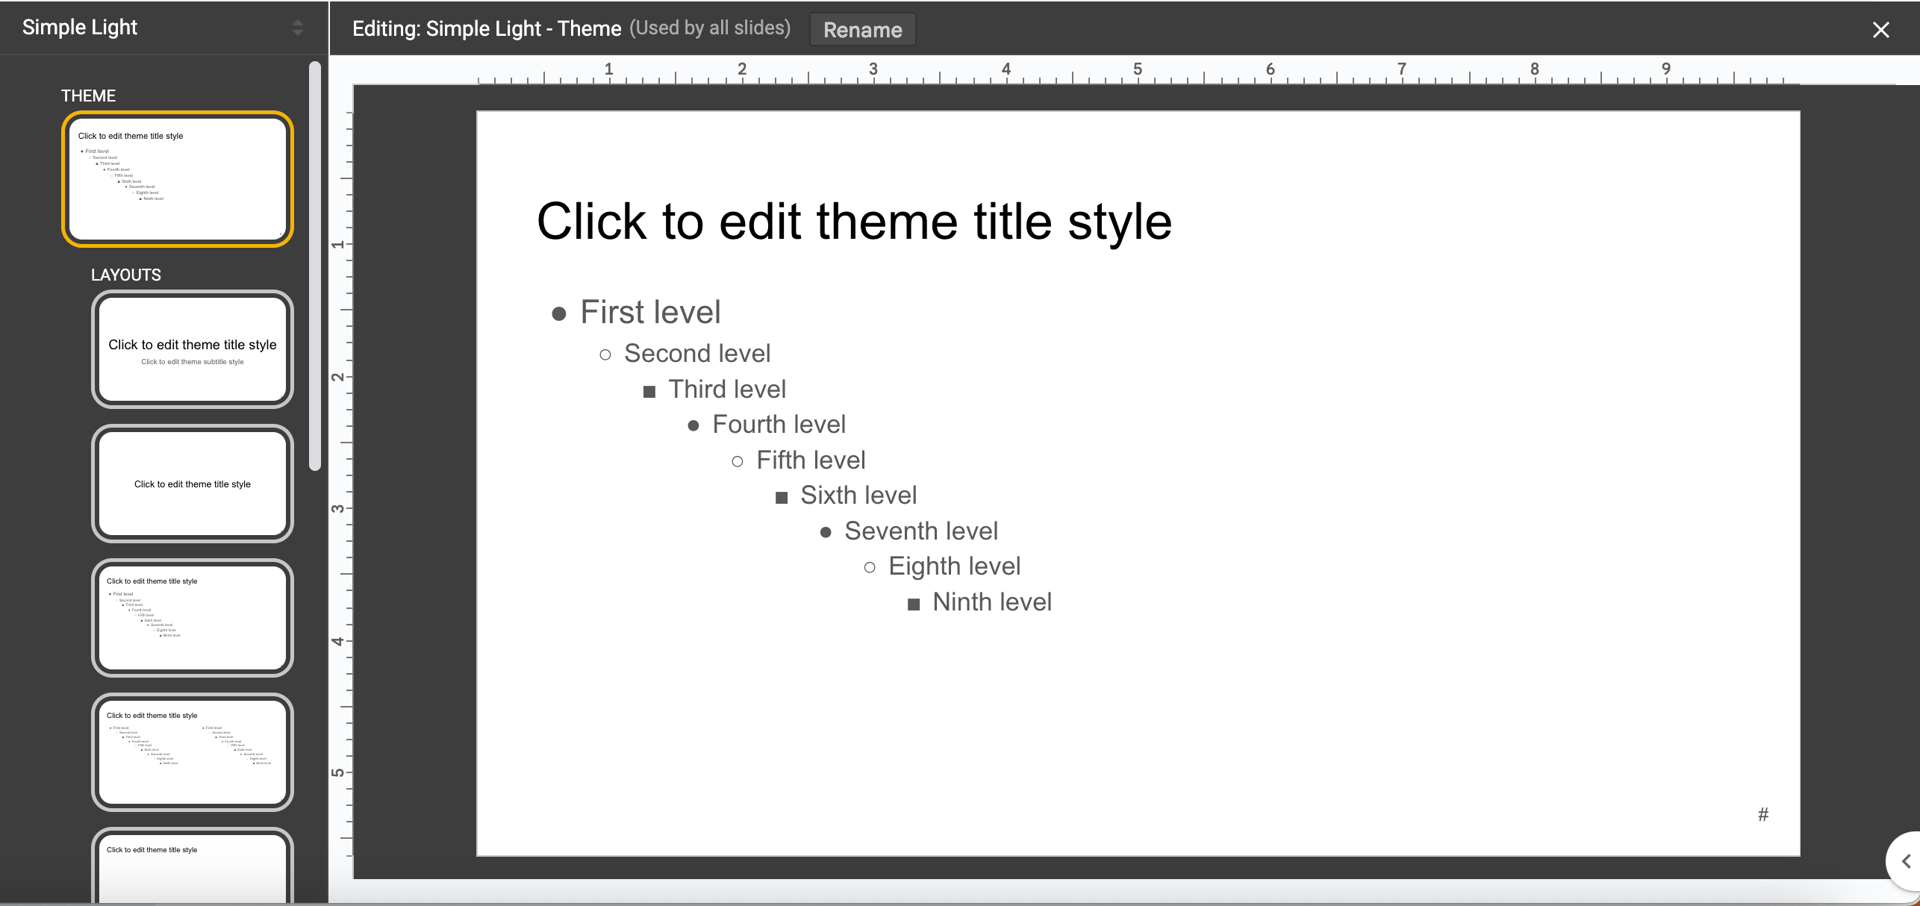
Formatting Master Slide Objects
- Headings and Subheadings: You can change the font, size, and colour of your headings and subheadings
- Bullets: You can choose the style and indentation of your bullet points
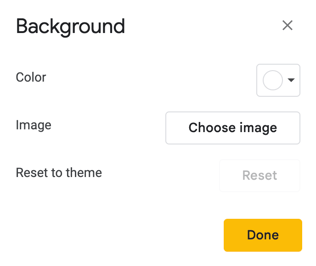
- Background Colour: Change the colour of your slide background to suit your presentation
- Go to 'Design', then 'Format Background'
Creating a New Presentation Using a Text File
- Start with a blank presentation
- Click 'New Slide', then 'Slides from Outline'
- Navigate to your text file and click 'Insert'
